
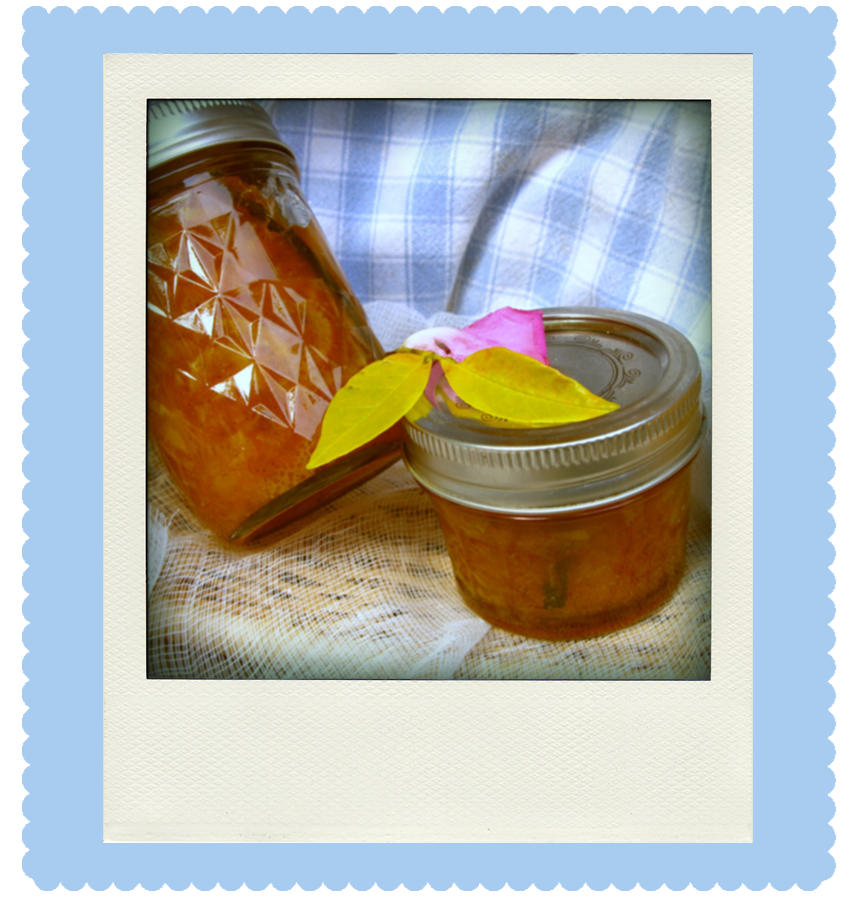
This time our marmalade attempts were a success! Unlike last time, this marmalade, made up of Meyer lemons and oranges, set up beautifully. It only had the tiniest hint of bitterness, which, I've learned, is appropriate for a good marmalade. Barry says that it is "the best marmalade I've ever had". It really is delicious. The vanilla bean adds some depth that I wasn't expecting. Since we made this batch, we've made several more batches - even one with strawberries! They've all been yummy. Here's the basic recipe and instructions.

Backyard Marmalade
Overview
This method is a two day process but don't let that scare you away. I found it much easier to divide the work over two days instead of trying to do everything in one day. You can enjoy it more, plus the flavors really develop when you let it sit overnight. I also used a different method for the oranges and the Meyer lemons. Because the Meyer lemons have such thin skin, you don't have to take off the white pith, which makes things much easier!
Ingredients
10 Meyer Lemons
10 sweet oranges (We're not sure what type our backyard oranges are.)
6 cups of sugar
1 vanilla bean
Special Equipment
Small Canning jars (I used 8 oz and 4 oz jars)
Canning equipment
Cheesecloth
Candy thermometer (optional)
Day One

1. Wash and dry all fruit. I used 10 Meyer lemons and 10 oranges. (We're not sure of the exact variety of our backyard oranges. They are sweet and very juicy!)
2. Using a vegetable peeler, remove the zest from the oranges. Avoid as much of the white pith as possible. Cut the zest into thin ribbons using a large chef's knife and place in a nonreactive pot. (You want them thinner than what is pictured to the side. I hadn't finished cutting them.)
3. Oranges
 Take the pith-covered oranges and cut the ends off. Set the orange up on end and, working around the whole orange, cut off the bitter pith.
4. Using a paring knife and holding the orange over your pot with the zest, separate the orange segments from the membrane and drop into the bowl. Here's a great how-to video that I found. Also remove any seeds you find and place in another clean bowl. Once you've finished with an orange, squeeze out all the juice from the membrane into your pot and place the remaining membrane with the discarded seeds to save for later.
5. Meyer Lemons
Cut each Meyer lemon in half and, working over your pot, use a paring knife to make a notch and cut around the membranous middle. Here is a great picture of the process. Squeeze juice from this middle section into the pot and then place the membrane aside in your membrane/seed bowl. Use your fingers to remove any seeds from the rest of the lemon, dropping them into your membrane/seed bowl.
 6. Using a sharp knife, cut the lemons into thin slices.
You don't have to separate the peel from the flesh. Add slices to the pot.
7. Drain any extra juice from your membrane/seed bowl into the pot.
8. Cover the fruit with water and simmer for 5 minutes. Let mixture cool and then place in the fridge overnight.
9. Place your reserved membranes and seeds in the center of a large cheesecloth square. Tie corners tightly together and place on a plate in the refrigerator.

Day Two
2. Slice your vanilla bean lengthwise and use a small knife or your thumb to remove the seeds. Add seeds to the orange/lemon mixture. Also add empty vanilla bean pods to the pot.

3. Simmer mixture for 5 minutes and then add 6 cups of sugar.
4. Boil mixture until it reaches the jelling point (check the wrinkle test) and/or 220 F (Mine only got to 216 F). The wrinkle test is done by placing a spoonful of marmalade on a chilled surface. I used a clean jar lid that had been in the freezer for 30 minutes. It should still be thin at this point. Return after a few minutes to see if it passes the wrinkle test, which means it will have thickened up and will wrinkle with you push it with your finger. You may have to add some added pectin at this point. Mine worked out fine but on a later batche (probably when I used less sugar), I had to add some pectin. Note: It should not be the consistency of marmalade at this point. It will seem much too thin and runny. It will thicken to the final consistency when cooled. However, it should pass the above tests. If it does not, it won't be thick enough later.

5. Remove the vanilla bean from the mixture and rinse. Cut into smaller lengths to add to your jars before processing.
6. Ladle mixture into jars and add your vanilla bean pieces. Clean jar rims before placing sterilized lids and screwing them down tight. Process in a water bath canner for 10 minutes.
7. Enjoy!

Three helpful sources that I referenced:


